DISCLAIMER: As an Amazon Associate, I earn from qualifying purchases. Mostly Harmless may receive a commission at no extra cost to you. Thank you for your support!
Today is the official announcement of the Raspberry Pi 5 – full specs can be found here: Raspberry Pi Blog
This is the first in a series of posts detailing it’s impressive capabilities and my first impressions, good and bad. Full disclosure, the board pictured here is an 8Gb pre-release board that I’ve been playing with for a couple of months now. I haven’t actually seen a production board yet, but I believe they are identical.
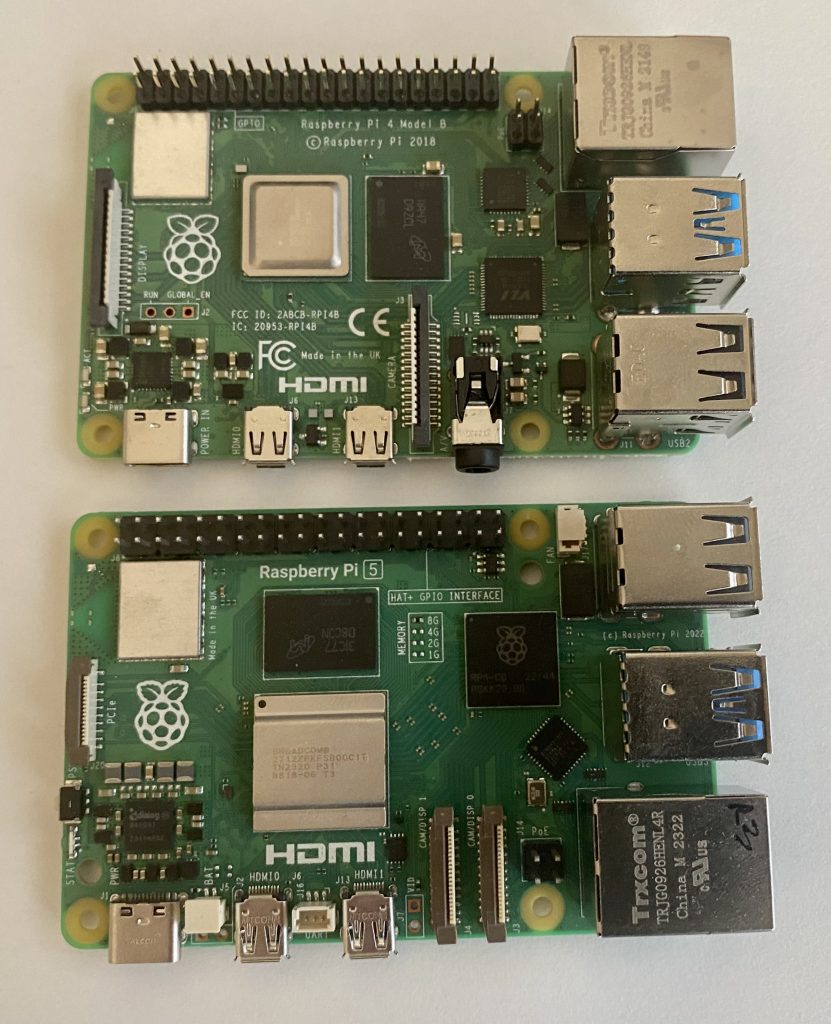
Here it is, next to a Raspberry Pi 4B for scale.
The first thing you notice is the layout is generally the same, although the Ethernet port has swapped back to the other side, just like the 3B’s, so no it won’t fit any case designed for a 4B. You’ll also notice the processor is noticeably bigger, and surprising absolutely no-one, it’s a bit of a power hog. I’ll go into more details in a future post, but you have to edit files to make it boot from USB with anything other than a 5V/5A power supply, and I’ve yet to find a 5V/5A power supply. Even my 67W Apple MacBook charger only puts out 3A at 5V. But I digress.
From the top view, there are a bunch of other things that jump out:
- New PCIe Slot!
- Two smaller connectors for displays or cameras (yes, you can run 2 cameras now!). The cable is the smaller size that is also used on the Raspberry Pi Zero’s.
- Dedicated Fan header (more on cooling in a future post).
- Power Button (finally!!!)
- UART connector (haven’t found a use for that yet).
- Sound port has gone.
- A new connector labelled ‘BAT’.
Here is a better view from the top:
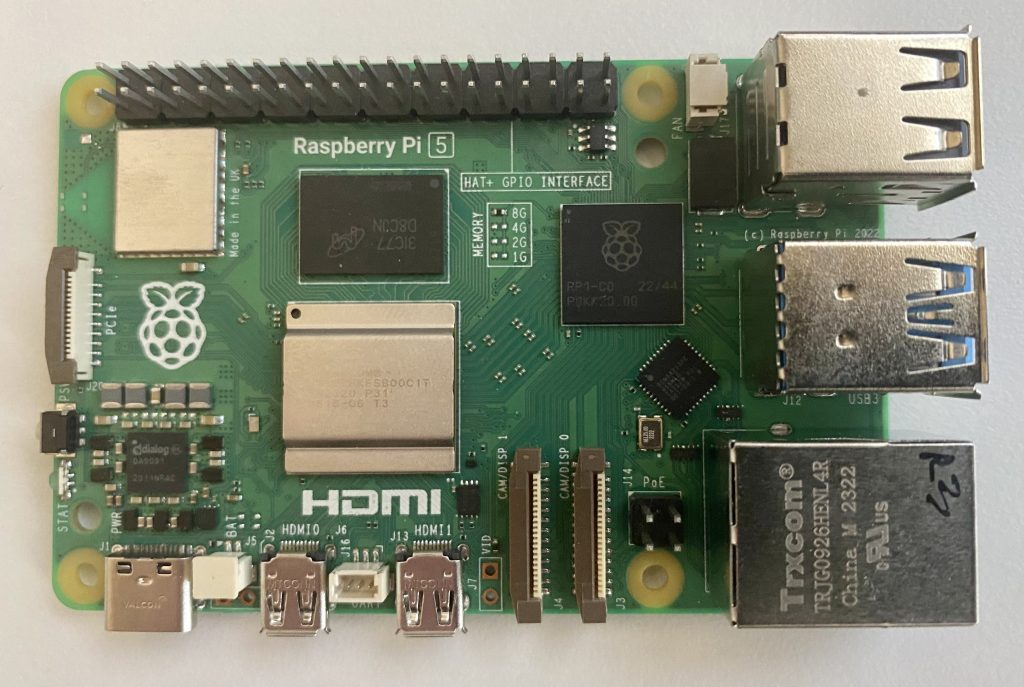
You can see on the board there is a box marked MEMORY with 1G, 2G, 4G and 8G options. Will have to see what the production boards look like, there have been rumors of a 16Gb version, so the production boards may be a little different here. You’ll also notice a couple of solderable pads next to the ‘BAT’ connector (to the right of to the USB-C power port). There are also a couple of additional holes in the board for accessory mounting – this board runs pretty hot, so a cooling solution is necessary if you are doing anything processor intensive.
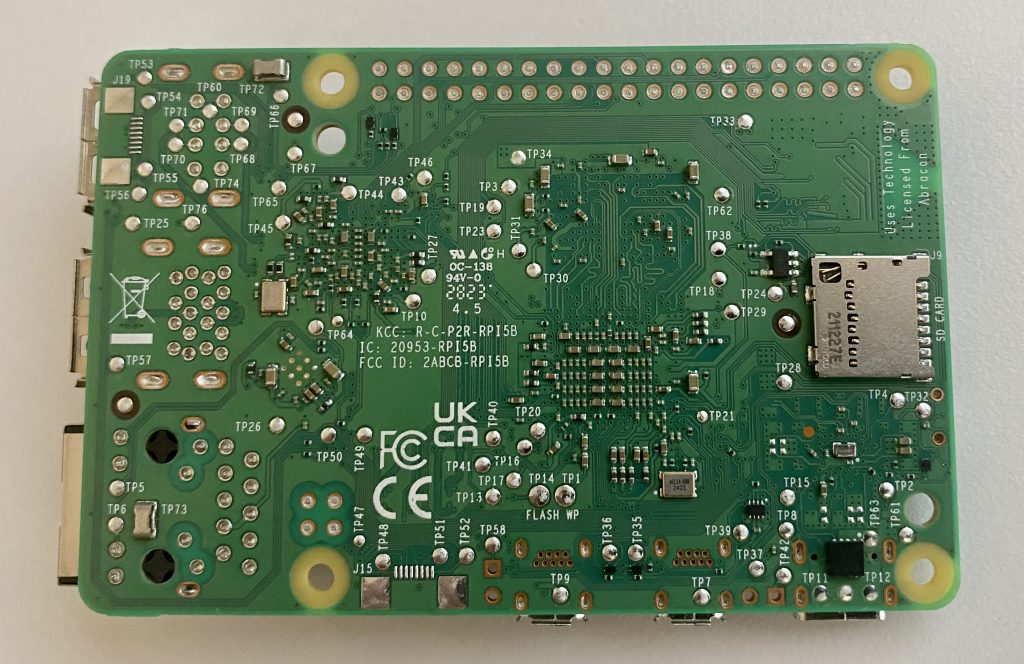
Here is the underside of the board, nothing exciting here, just the standard card reader:
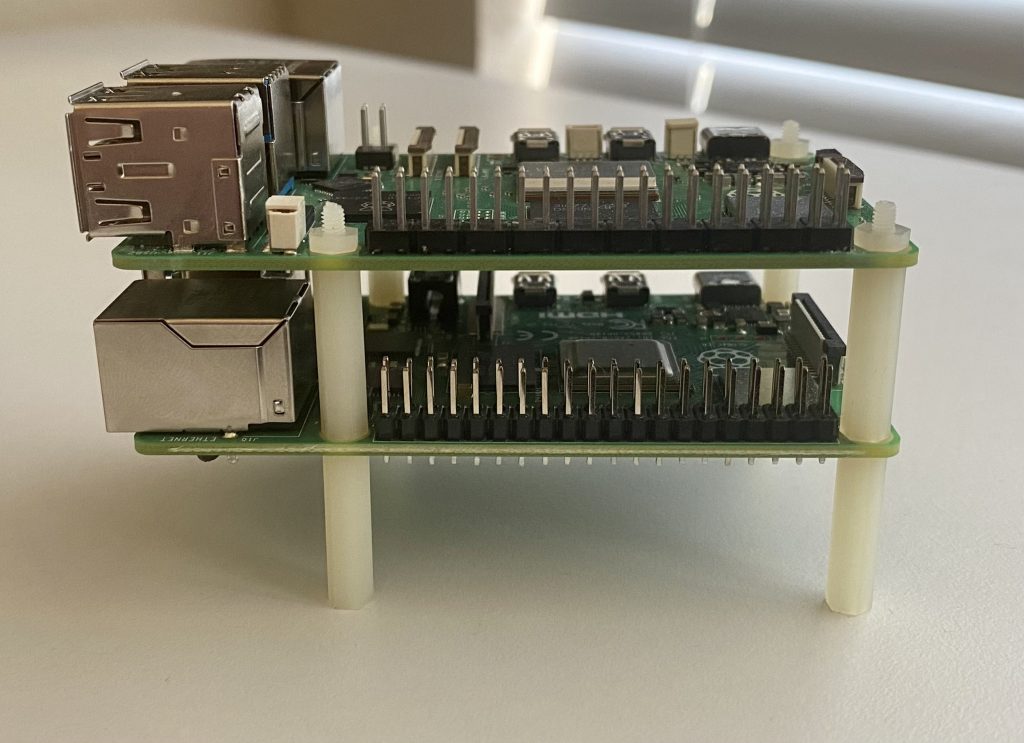
The next series of pictures are for comparison with the 4B – in all these pictures, the 5 is on top and the 4B underneath. First, as you can see, the Ethernet Port has switched sides, and like the 4 there are 2 (blue) USB-3 ports, 4 USB ports total. But don’t let that deceive you, with the new RP1 chip these ports have a much higher throughput. I haven’t tested, but the USB 3 ports are spec’d for simultaneous 5Gbps operation:

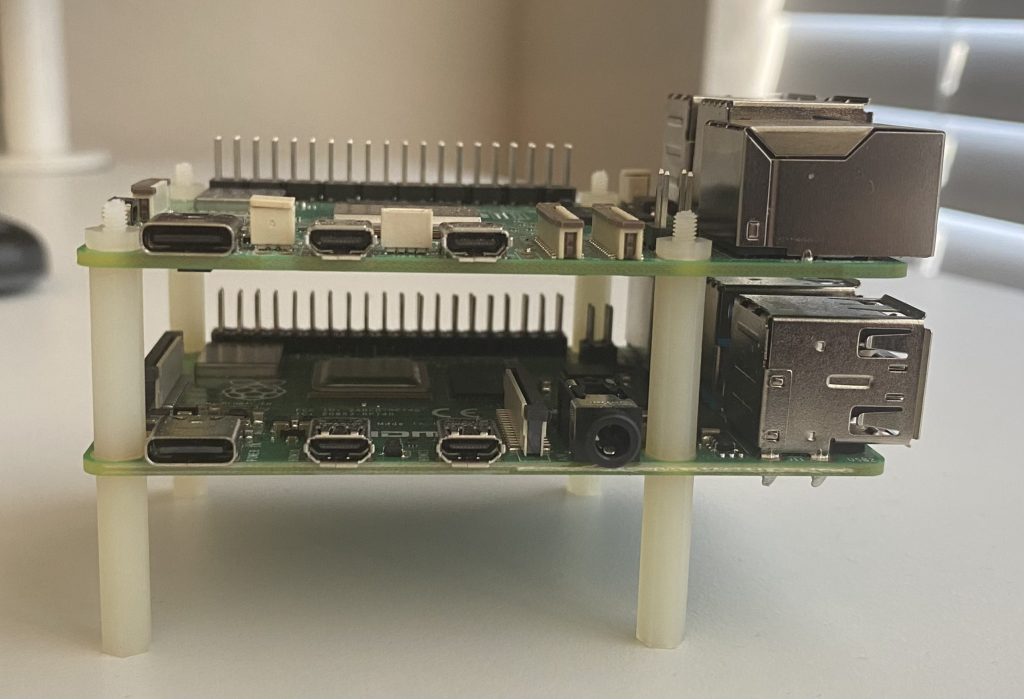
Flipping it round, here is a better shot of the new (tiny) power switch, and the PCIe connector. I don’t know why, but having the power switch just makes me happy:
Now for the boring side, the GPIO is basically unchanged, but the new fan header has already proved extremely useful:
Theres a lot more going on in this view. The power and two HDMI ports remain the same. However a BAT connector has been squeezed in next to the power, and a UART between the two HDMI ports. The sound jack is no more, but two smaller camera/display ports occupy that space.
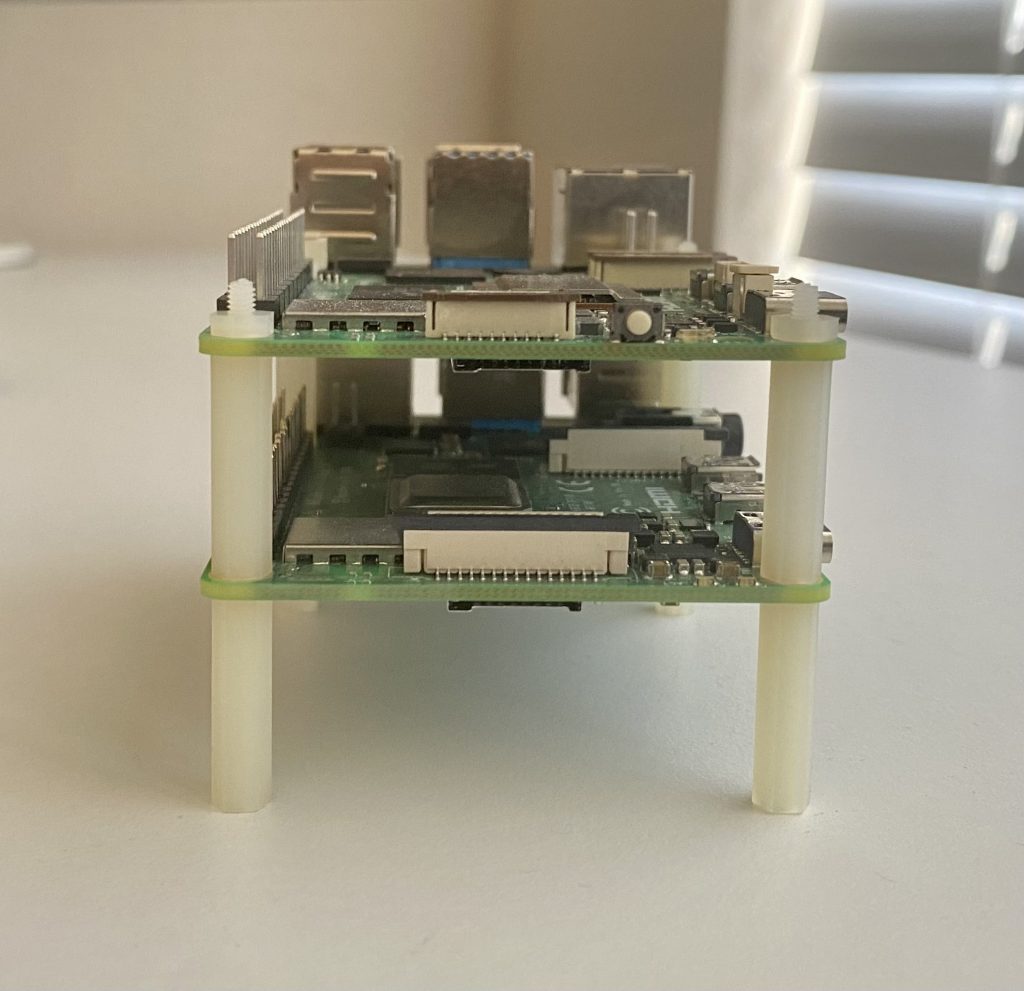
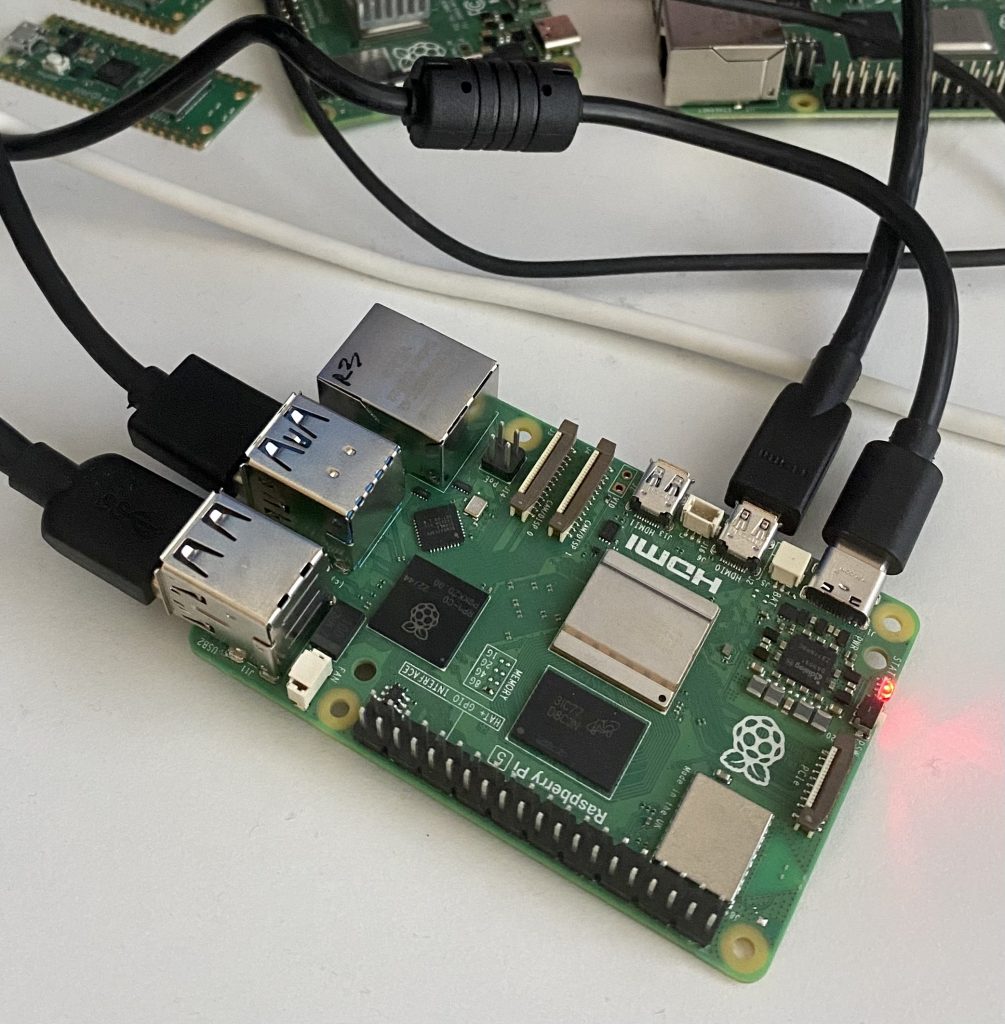
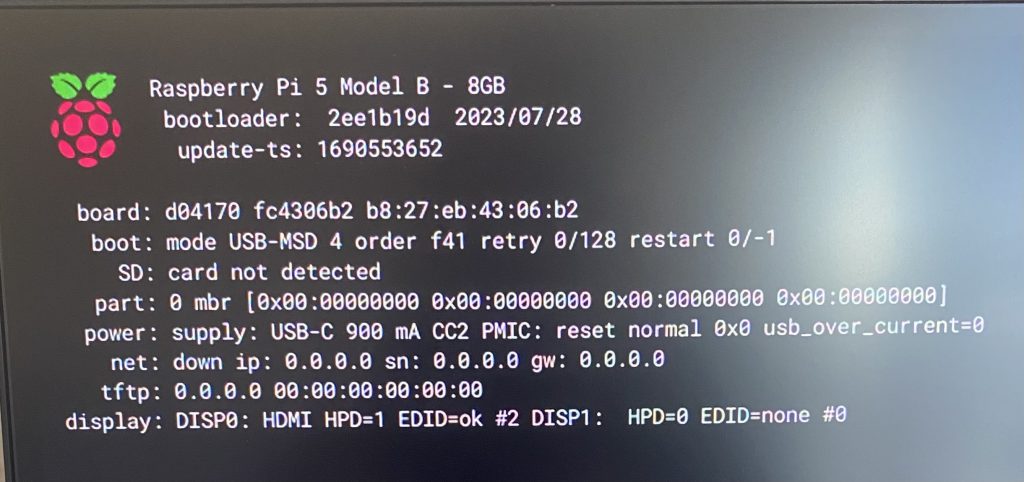
Then these last two shots are just to prove it works, and that my cable management skills need some work (I’m booting from USB):
I’ll be posting several more write-ups over the next couple of weeks covering different aspects of the Raspberry Pi 5. But just to tease, in terms of performance this thing is a major step forward over the 4B in just about every way. In most use cases it appears to be somewhere 2-3 times faster than the 4B.
However until 5V/5A USB-C power supplies are generally available you’ve got to be careful with accessories: I can’t use a fan and USB drive (I’m using an older WD HDD Pi Drive to be fair) at the same time with my 3.5A CanaKit RPI4 power supply, and you really need a cooling solution if you are doing anything even remotely processor intensive.